Even though I’ve been using Photoshop for years, I’ve always used it to touch up photos, create graphics, illustrations and patterns – and to play around creating lots of cool effects. But I had never used Photoshop to create a poster before, until recently when a client approached me with a request for “some type of elephant poster” to give to her friend as a birthday gift (her friend loves elephants).
I learned a lot through the process and have outlined it below. Ok – let’s dive in!
Step 1:
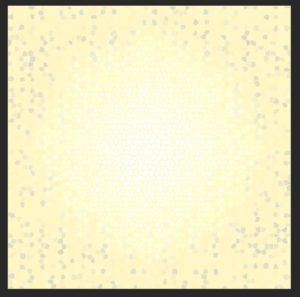
Open a file in Photoshop CC (or whatever version you have) that can be used as a backdrop for the poster. I happened to have a lovely yellow honeycomb pattern handy, so I figured I’d experiment with that:

Step 2:
By now I’m remembering this design is intended to be printed, so I click on “Image” up at the top, then choose “Mode”, then in the little window that pops open I choose “CMYK Color.” A warning appears basically saying my image might not convert well, so am I sure I want to do this? I click on “OK” and my design appears to be totally unchanged (alright!)
Check out the fantastic deals that Adobe offers here. There are many different affordable plans available so you can get started editing photos, creating illustrations, or designing whatever your imagination can come up with. You can get started on as little as $9.99/month! 
Step 3:
Whenever I’m creating a design that is going to be printed, I always convert the image resolution to 300 dpi (300 dots per inch). Most images are 72 dpi when I first start working on them, as was the case here. Bear in mind, when increasing the resolution, images often get WAY larger. (In this case I actually wanted that to happen). The image size (resolution) started out as 1200 W x 1200 H, and after I converted it to 300 dpi, it is now at 5000 W x 5000 H.
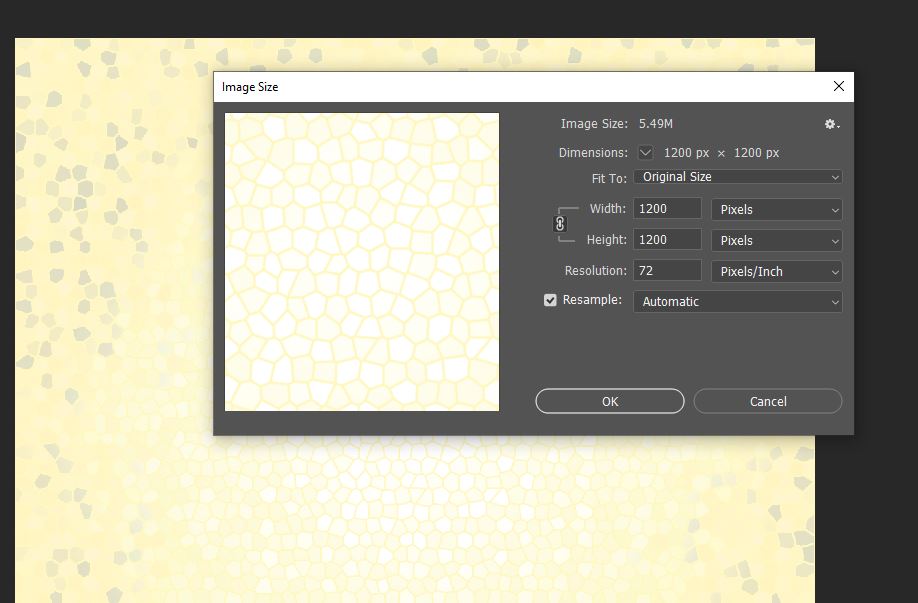
In order to see the whole design at one time and not have to scroll in Photoshop, I usually click on the little magnifying glass icon in the main menu bar and zoom way out.
Note: make sure to keep “Resample” checked. Also, if you’d like to keep your image with the same proportions, make sure to click the little chain image, so that the width and height are linked together.
Step 4:
Apply a cool effect to make the backdrop/background unique and special. In this case I clicked on “Filter” way at the top of my Photoshop screen, then chose “Filter Gallery.”
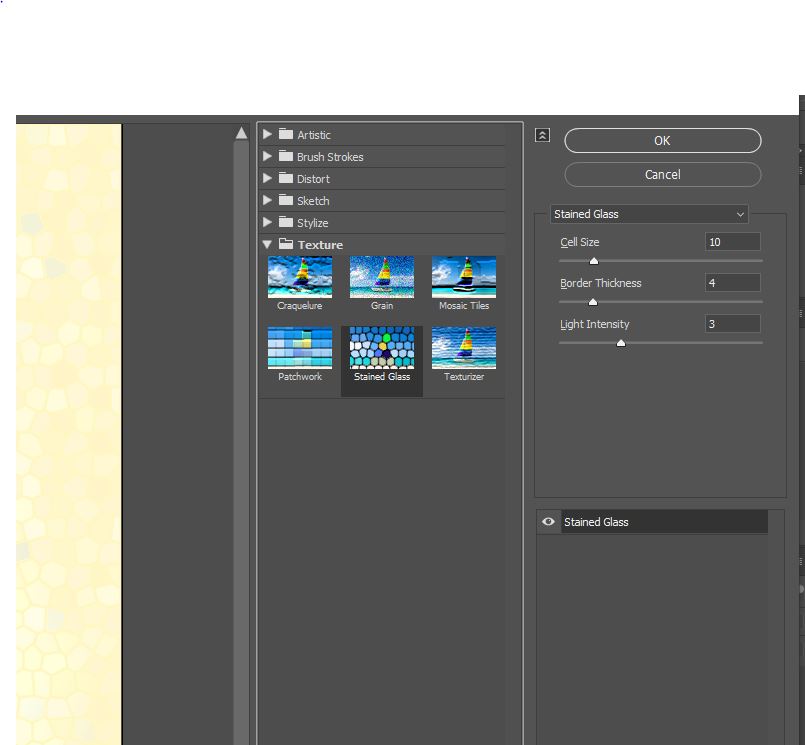
I love the Filter Gallery section because it allows me to quickly click through all the different effects and have a preview of exactly how they will appear on my design. Here I chose “Texture” and then “Stained Glass.”
Step 5:
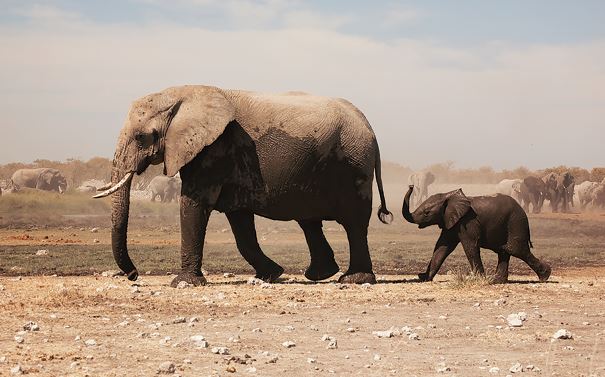
Find an appropriate photo from one of the numerous stock photograph sites out there, or use one of your own photos.
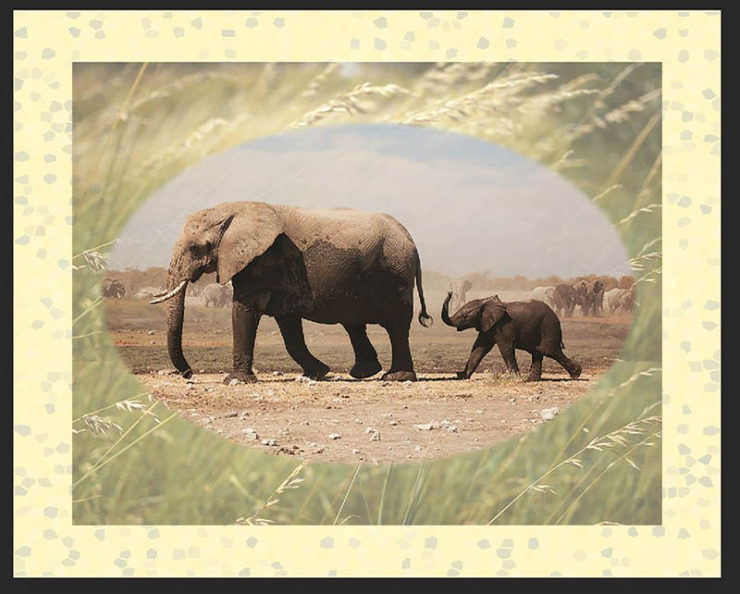
Since the main focal point for this poster is going to be elephants, I decided upon a lovely and appropriate photo that I found on Unsplash.com (great free photos there!) and added it on top of my background image – I pasted it in as a new layer. The photo I used was taken by Tobias Adam:
I also often take advantage of the top quality free stock photos I have available to me through Adobe’s most affordable plan, the Photography Plan. It’s a limited amount of photos for free, but still quite ample, with a great variety available.
Step 6:
Add some grasses and other elements to finish up the design, blend in any hard edges with the Smudge tool, etc.:

Step 7:
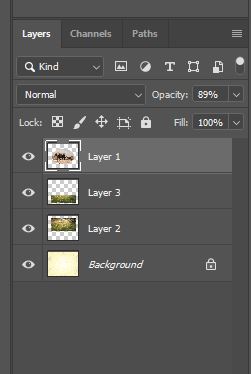
Flatten the layers by clicking on the little hamburger icon in the Layers menu and choosing “Flatten Image” in the fly-out menu. If the Layers menu isn’t already open, simply go up to the top of your Photoshop screen and click on “Window,” then scroll down to “Layers” and make sure that option is checked.
Step 8:
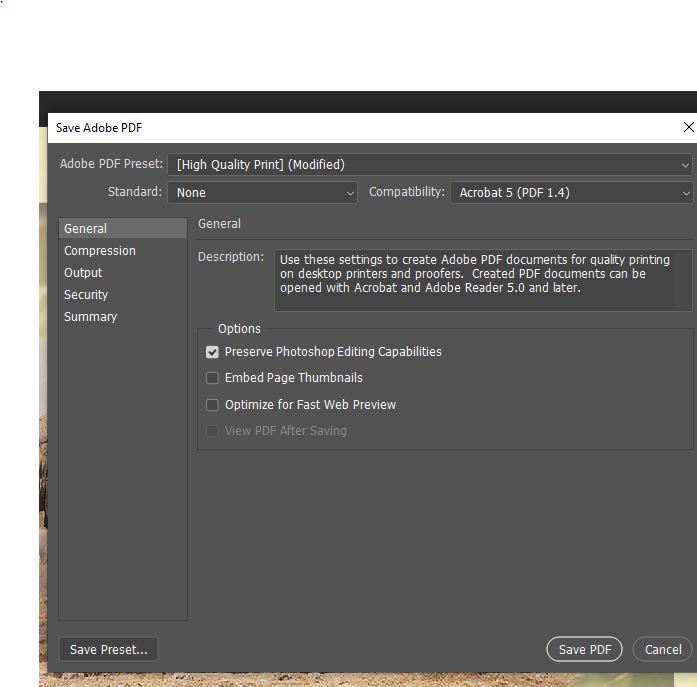
Save the image and get it ready for printing. It is best to save it as a PDF so it can be easily resized and printed. The EPS file format is also often used for printing large items such as banners, while saving your file as a TIFF allows it to be compressed without losing any of the image quality. When saving as a TIFF file you also can choose “None” under “Image Compression” (although saving your file this way could result in a massively large file).
If you choose to save your image as a PDF, choose the option for “High Quality Print” and under “Compression” make sure you have chosen “Do Not Downsample.” Also make sure it isn’t going to compress your file when you save (go for Maximum quality).
For more info on printing, this article written by Steve Patterson goes into great detail all about the printing process, as it pertains to working in Photoshop.
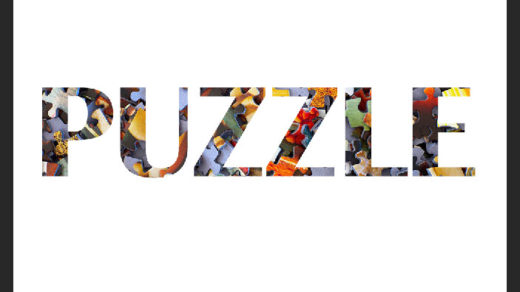
If you’re like me and love playing around with fonts and text, check out this article on how to create text outline effects in PS.
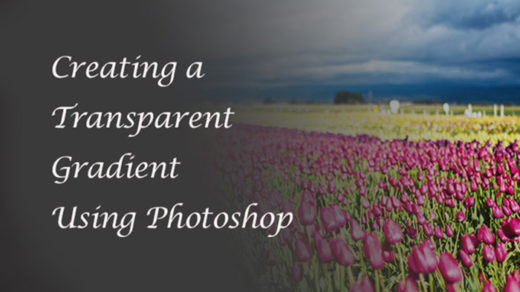
To add a little extra pizzazz to your photos, posters, etc. you might want to try adding a gradient overlay to the image.
So that was my process for creating my first poster using the magic of Photoshop! Have you ever created a poster using Photoshop?
Please let me know in the comments if you have any PS questions or comments!


Great article, thanks for the detailed steps.