In this tutorial I’ll be using Photoshop CC to show you how to use the clipping mask technique and apply it to text. A clipping mask is essentially a way to use different layers to cut out a portion of a picture or photograph – to hide or mask parts of the picture. Clipping masks can be used on words/textual elements as well as on abstract shapes.
So here we go!
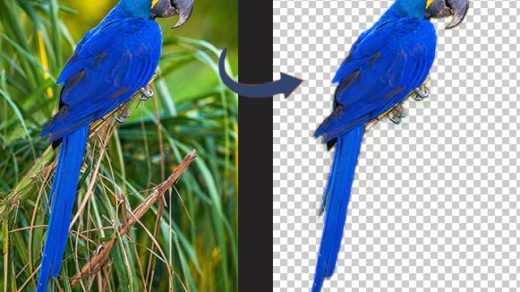
Open a photo or illustration that contains an interesting background and/or has a lot of texture:

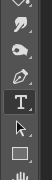
Choose the Type tool from your main menu of PS tools:
The settings I chose for the font/text are as follows: ![]()
It’s probably best if you choose a typeface that is a bit on the chunky side.
Then click anywhere on your photo and type your desired word or words. You can move the text around using the Move tool in your Photoshop tools menu:
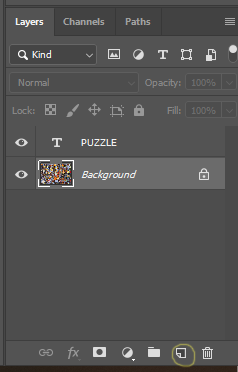
Next create a new layer by clicking on the Background layer to select it, then clicking on the little “Create a new layer” icon at the bottom of the Layers menu:
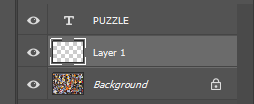
Here is the new layer that we just created:
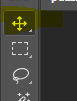
With your new layer selected, fill that new layer with white using the Paint Bucket tool, located in your main Tools menu (my Tools menu sits along a vertical strip at the left side of my PS window):

Here is the new layer with a white background:

Click on and drag to move the layers around, so that the puzzle pieces (image) layer is higher than the “T” or text layer. This will make sure your photo covers the word “puzzle” (or whatever your chosen word is) and is hiding it from your view within the main Photoshop viewing area:
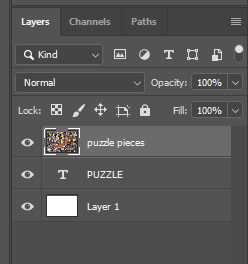
Make sure the “puzzle pieces” layer (the layer containing your photo) is selected, then right-click. A long dropdown menu will appear.
Choose “Create Clipping Mask.”
This is the result:

Pretty cool, huh?!
I NEVER get tired of Photoshop.
Oh – also, if you need to move the photo around or into position (behind the text), simply make sure the photo layer is still selected, then choose the Move tool to move the photo around as needed.
Here are a few additional effects that you might like to try adding to your text:
Still within the Layers menu, click on your text layer to select it, and right-click again to open up a menu of different options.
- Choose “Warp Text” then “Arch” to wrap your text around something. This effect might be used in a logo for example:

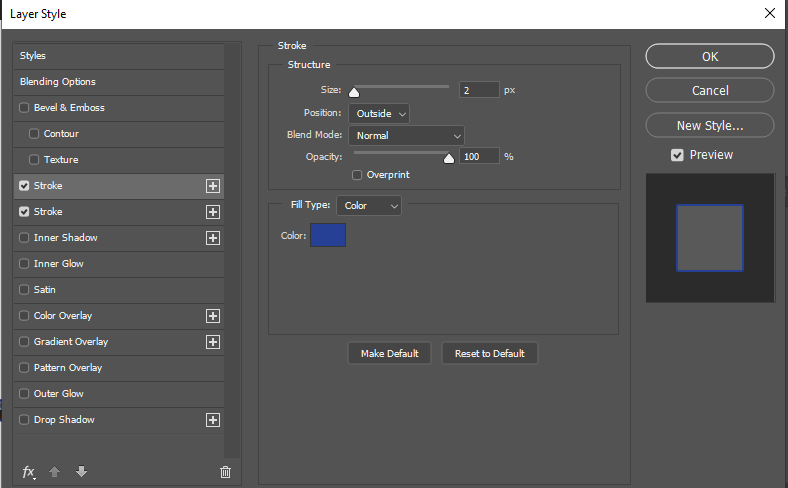
- Choose “Blending Options” from the drop-down menu, then click on “Stroke”. To change the color of the text outline and tweak other aspects, double-click over the word “Stroke” to open a panel of options (if it isn’t already visible at the right of the Layer Style window).
You can add more than one stroke effect by clicking on the little “+” symbol to the right of the word “Stroke”. Read more about outlining text using the Stroke technique.This outlines your text and could come in handy in really making the text stand out:
This is the result:
- To apply an artistic filter to the photo behind your text, click on that layer (the photo layer) to make it active. Then go up to the top of your screen and choose “Filter” and scroll down until you see “Filter Gallery” and click on that:

There are all sorts of wonderful special effects that you can apply to your creations by using the Filter Gallery. Adobe has an excellent article detailing how to apply and work with filters.
In this example I chose the “Palette Knife” option, under the “Artistic” menu: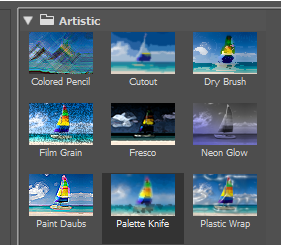
This results in a nice, soft watercolor-style treatment of the text:
I could go on for days on the amazing, creative things that can be done using Photoshop text effects! How about you? Are there any Photoshop techniques you’re crazy about? Please let us know in the comments.And if you are in need of design or website services, please reach out to us here at Code Dragon Design & Development. Thank you so much for reading!
OR you could try …
Or try this:


Nice blog and thanks for sharing such a piece of useful information with us. I really love this blog.
This is a very nice article.
https://www.gettinginformationdone.com/
thank you, finally i got what i wanted. I love your blog! <3
Thank you, Daniel – I’m so glad you are enjoying the articles and finding them useful! There are so many creative possibilities when using Photoshop!
Thanks for shearing such beautiful information with us. I hope you will shear some more info about…..Please Keep sharing!
Thanks for the positive feedback, Nancy! Glad you liked the article : )
Hi,
Thanks for writing this in-depth review.I read your website.
In fact, I found the information I was looking for in your article. It’s really helpful.
I have benefited from reading your article.
Thank you very much.
Thank you so much, Sohel – I appreciate the feedback!
I love this good quality content that you have shared here details, thanks
Thank you – glad you enjoyed this article!