Have you been thinking about creating a blog and aren’t sure how and where to start? If so, I have good news for you! It has never been easier to begin your blogging journey, and here and now is a good way to get started!
I’ve been a web designer and front-end web developer for a long time now and have used all kinds of different web hosting platforms and web content management systems (CMS) for building and hosting websites and blogs. One of the best, most versatile web CMS’s I’ve worked with is WordPress.
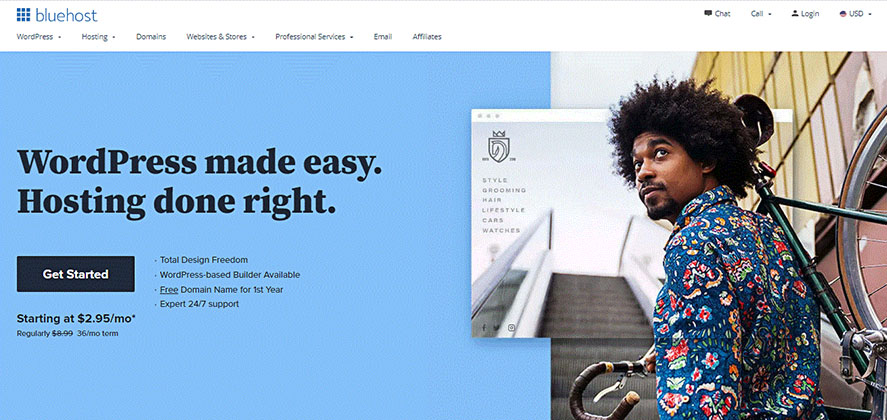
Bluehost is by far my favorite web hosting company – and their hosting plans are very affordable.
And luckily WordPress is one of Bluehost’s specialties.
Affiliate Disclosure: This blog is supported by its readers. This page contains affiliate links and I am an affiliate for Bluehost. If you use our links to purchase a product we may make a small commission at no extra cost to you. We only recommend products, brands or services that we are personally familiar with and are crazy about! Thank you for supporting us at Create With Code Dragon! For more information read the full disclaimer here.
Click on this link to get started creating a blog with Bluehost. Then c’mon back here to follow the full directions on getting started! The specific steps are below in this article.
Being a long-time customer of Bluehost, I have chosen them to host my own (various) websites as well as multiple client websites through the years. So far I have experienced no downtime or significant issues on my websites or my blog, and am very satisfied with their customer service (they offer free 24/7 support for their customers!).
Here are some important Bluehost stats:
- Founded in 2003 and based in Orem, Utah, Bluehost is one of the largest and most respected web hosting providers in the world.
- Bluehost has been one of WordPress’ top recommended hosts since 2005.
- Customers can cancel at any time without penalty to receive a prorated refund. Full refunds are available in the first 30 days (minus the cost of domains if canceled after three days).
- Support is available 24/7 via phone, chat, and tickets.
- They have a knowledgebase and training videos available to make it easy for customers to successfully build a blog or website.
- While most companies require multiple logins to access different aspects of your account, Bluehost users can access everything — websites, emails, domains, and billing — from one place.
- Bluehost and its web hosting is known for reliability and stability. By building their platform in-house, from hardware to software, they’ve created the ideal hosting environment.
The steps below will give you a rundown of the the process for getting your blog started with Bluehost as your hosting provider. Bluehost does a great job of making it as painless and quick as possible, and nicely guides you through the process as you go along. And – to reiterate what I mentioned above about WordPress – that is a great platform and I’m glad to say that most of the sites I’ve created (almost all actually) were built upon the WordPress.org platform. That’s the WordPress.org open-source project, as opposed to WordPress.com. I used to have a website on WordPress.com and to be honest wasn’t all that happy with the interface, cost, lack of plugins available and other issues.
Ok great – take me directly to Bluehost to get my blog started now. You have the option to get started for as little as $2.95/month (with a free domain) using my affiliate link!
The Steps: How to Start a Blog the Easy Way (WordPress Edition)
-
Decide upon one of the awesome, affordable plans that Bluehost has to offer.
With the Basic Plan you can get started for as little as $2.95/month through my affiliate link, if you opt for the 36 month plan. The Basic shared hosting plan also includes a free domain name (website url) AND a free SSL certificate. If you’re not sure why you need your blog to be on a secure (SSL) server, we cover that in this article here.
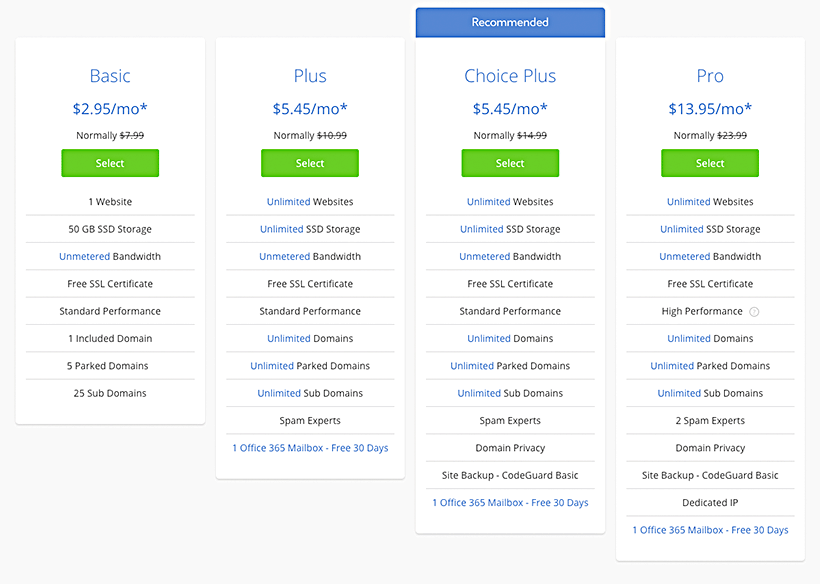
As far as the different plan options and time period/length go, it makes the most sense (and there’s less to try to remember) to purchase hosting for at least 12 months at a time. That way you can “set it and forget it” for a whole year, for the most part. I wouldn’t want to have to try to remember to pay for web hosting every month, and also risk forgetting and perhaps having my blog offline for any length of time. And when you sign up for a 12-month or 36-month plan you will receive a free domain name and the prices are even lower than they would be if you paid on a month-to-month basis.
When I first went through the process of setting up my business website with Bluehost (which was an easy process) I decided to skip on purchasing the Domain Privacy Protection option. That was definitely a mistake on my part. Literally within days of getting my website set up and live I began to get spam emails from all over the place (having to do with my domain name).
I quickly went back into my Bluehost account and purchased Domain Privacy Protection, which is VERY affordable at only $0.99 per month. Then the annoying spam emails went away.

I didn’t purchase any of the other extras besides the Domain Privacy Protection, but you might want to click on the “More information” link to see if those options might work for your particular situation.
-
Choose a domain name for your new blog, then register it.
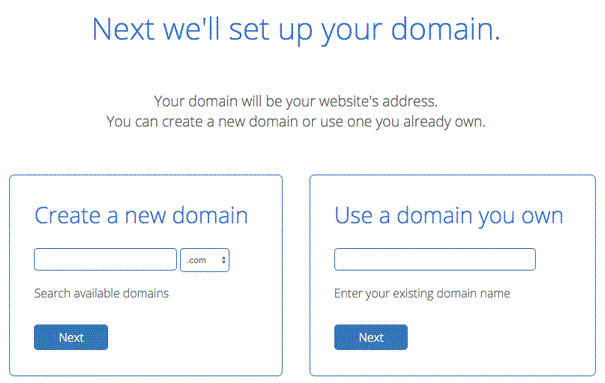
Bluehost will guide you along the process of choosing a domain, and you can plug in different domains to see if they happen to be taken already. If you already have a domain name (purchased elsewhere) you’ll need to connect it to your Bluehost account.
-
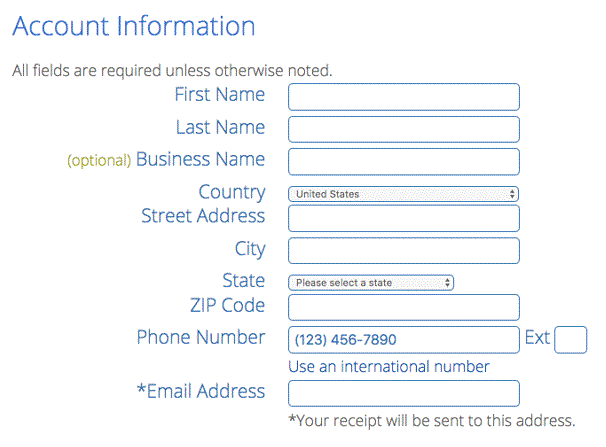
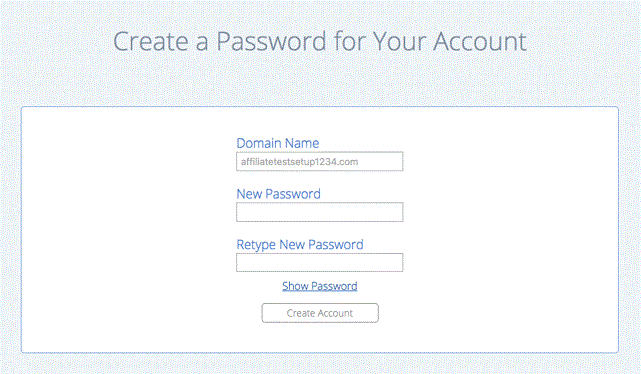
Enter your account and payment information, choose a secure password and create your account.
-
Browse through the many beautiful WordPress themes available to you through Bluehost web hosting.
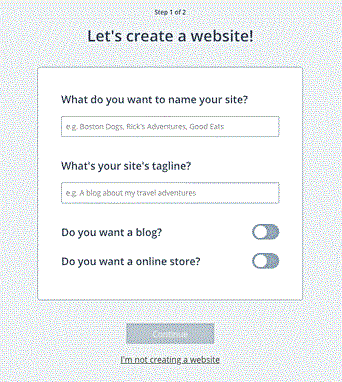
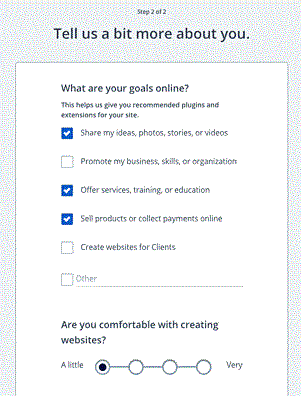
Bluehost does a good job of walking you through the process of setting up WordPress and browsing through and selecting a theme (template) for your blog. Optionally, you could skip this step and choose a theme later. Most themes are quite affordable, even the premium themes that come with a bunch of extras (like Divi or Avada for example). WordPress also has lots and lots of free themes to browse through and choose from (yay!)
After telling Bluehost a little bit about your preferences, you should soon be presented with the themes available, broken down by categories: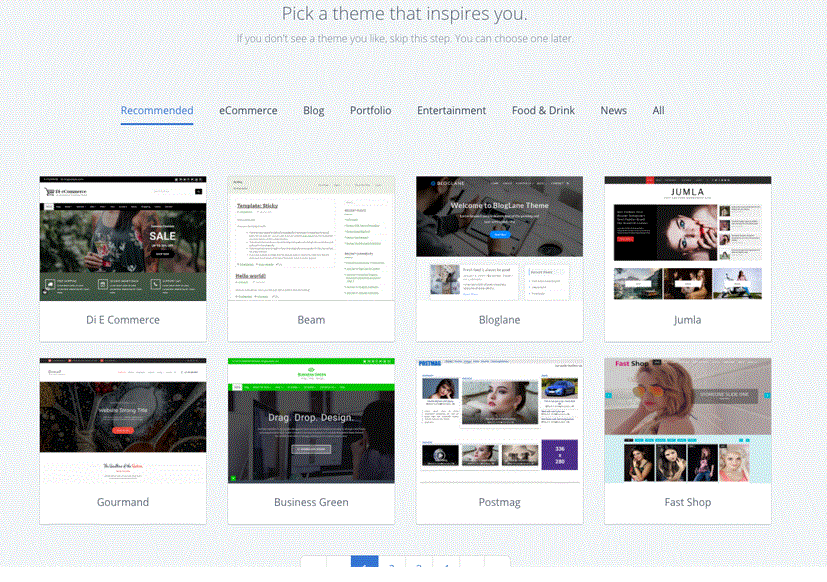
There are SO many great blog templates/themes available! Especially at the beginning stages you might change your mind and want to choose a different theme. WordPress makes that really easy and you can try out different themes as you go along creating content for your blog. It is also possible to swap out themes after your blog/website is entirely set up, but I wouldn’t really recommend that. It can be done but is just a bit of a pain.One of the most enjoyable aspects of starting my own blog was trying on a bunch of different WordPress themes, at the beginning. I put in a little content for testing (like placeholder lorem ipsum text and some random photos imported from my hard drive) so I would have something to look at, then I previewed different themes. Here’s a quick rundown on how to preview a WordPress theme.
-
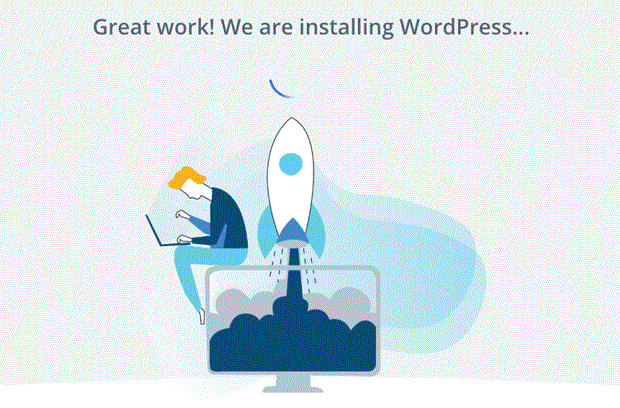
Install WordPress through Bluehost.
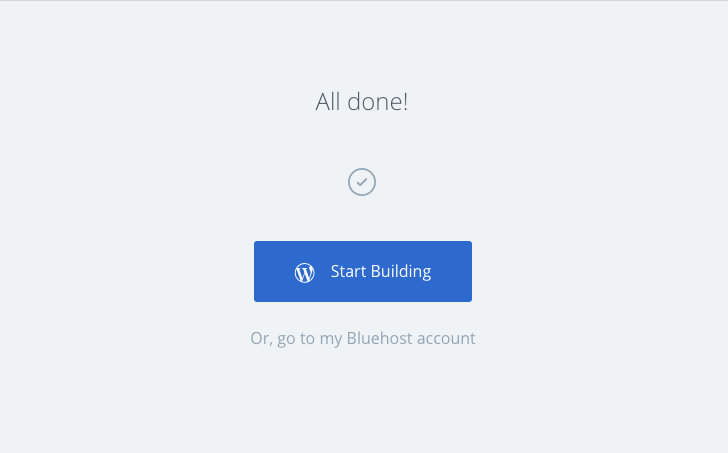
Once you’re done installing WordPress you’ll have the option to get right into building your new blog or to go have a look around your Bluehost account.
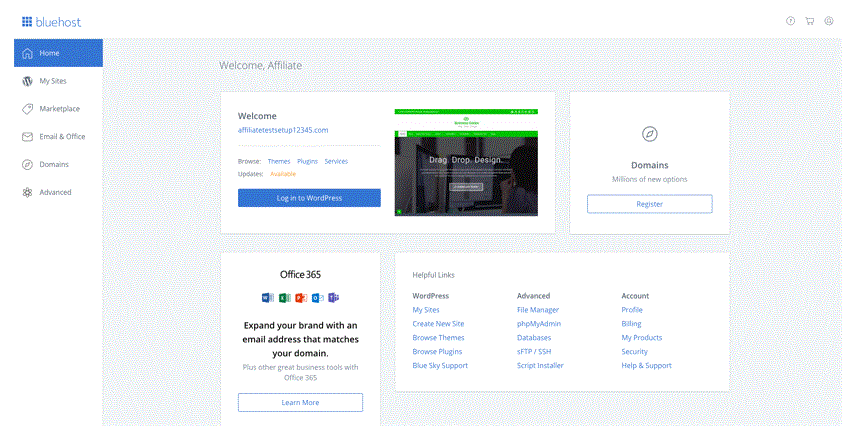
If you choose the option to “go to my Bluehost account” it should take you to your new dashboard – which is the center of operations for your new blog. I have found the Bluehost dashboard and overall interface to be clear, simple to understand and easy to navigate around in. In the past I’ve worked with some web host’s cPanel dashboard setups and was quite confused – but I have pretty much no hassle with my Bluehost account.
-
Start creating your content and share it with the world!
Once you are done installing WordPress and your theme, you’ll be able to go into the ‘back end’ of your website and see all of the dashboard options for your blog itself (as opposed to the Bluehost dashboard options).
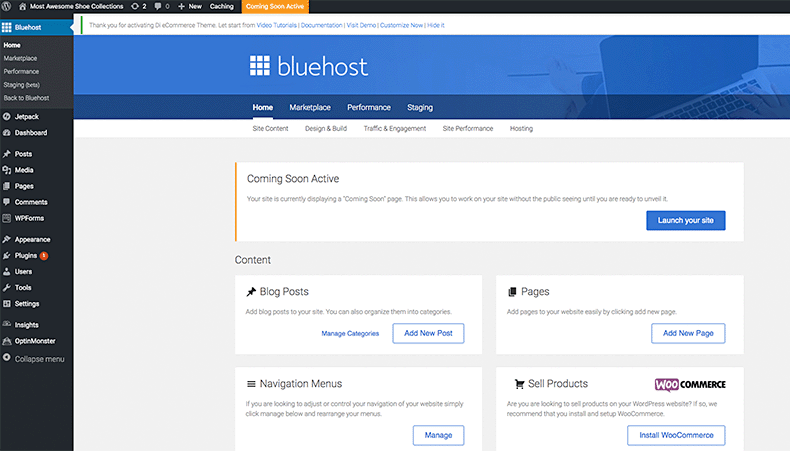
Click on “Posts” or “Pages” to start creating your content. For more info on how to get into the nitty-gritty details of creating pages or posts, importing images, installing plugins, etc. – this is a good place to start.
This WordPress tutorial article also contains lots of helpful information about a bunch of stuff involving how to create a page in WordPress.
If you would like to begin an exciting new journey into the world of blogging, go here to get started quickly and easily with Bluehost. As I have experienced, blogging can be an excellent creative outlet as well as a way to connect with your readers in a unique way. 🙂
After you’re done setting up your new blog and have published some content, it would be a good idea to start thinking about how to protect your blog legally with these essential legal pages.
Please share this article if you found it helpful, and let us know if you have any questions on this topic. And don’t forget to drop a comment below if you’re in the process of starting your own blog. Thank you for reading!