
Sometimes I just can’t get over how much web content management systems (CMS’s) have changed over the years. More years ago than I care to remember, I was coding online forms from “scratch” using html, a little JavaScript and adding POST or GET methods to submit the form. Not to mention coding those mail template (.mt) files by hand so that the confirmation email the end user receives matches the fields on the form itself (a bit of a pain). And then the developer (sometimes me) had to make sure all of the error message (.tmpl) files were created and functioned correctly…
We are so fortunate today to have so many user-friendly CMS platforms at our disposal. These platforms can do amazing things – quickly – that used to take a long time. One of those amazing things is creating a form (that actually works) in no time flat. Let’s see how it’s done in one CMS platform called Squarespace!
A breakdown of how to create a website form using the Squarespace CMS:
Once you are inside your Squarespace account and are in the dashboard area, double-click on any part of your page to enable editing of the elements of that page. Or you can hover over your page and choose “EDIT” from the little menu that appears:

Click on your page in the spot where you would like to create a new form,
click the + symbol in the top-right corner of your editing window,
search the Content Blocks or scroll down in that popup window until you see a block called “Form”.
The form symbol should look like this:

Next you’ll see a window open that looks like this:
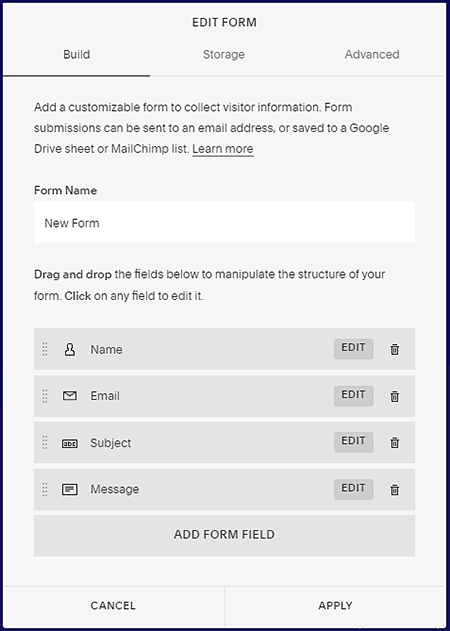
Add a form name (for your own purposes – it won’t show on your page) that will help you to easily identify this form in the future.
Adding or deleting form fields
Delete unnecessary form fields by clicking the little trash can icon next to the field. Add new fields by choosing “ADD FORM FIELD”. That will activate a window that includes many different form fields you could add, including the following:
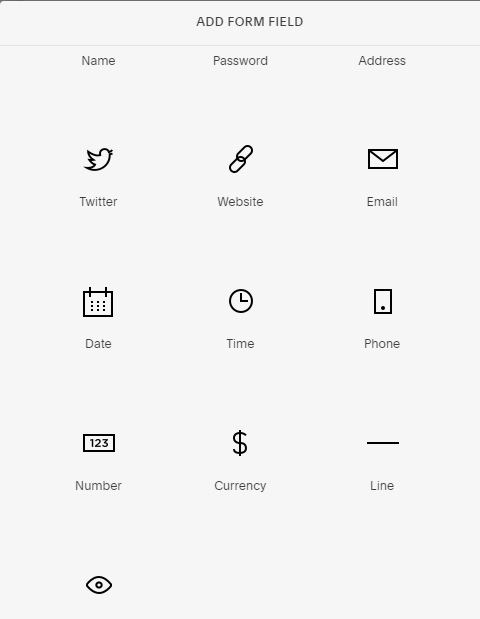
After you choose a new field, you can type in a different name for the field, then click “DONE”.
By clicking “EDIT” next to a form field you can edit a few of its properties, including adding a description, displaying the country code and choosing whether it will be a required field or not.
Next click “APPLY” so you can add the lovely new form to your page.
If you need to edit your form, hover over it and click “EDIT” in the gray area that appears. Inside the EDIT FORM box you will see 3 tabs at the top:

In the “Advanced” tab you can change the verbiage for the Submit button, type in some HTML and/or a confirmation message (for what the user will see after they submit the form), change the alignment of the button, etc.
Choosing where to store form submissions
In the “Storage” tab you will need to decide where you’d like to store your form submissions. You can choose to submit them to an email address or to send them to your MailChimp or Zapier account. Or you can hook the form up to submit to Google Drive.
In my case I was connecting my form to a MailChimp account, so this is what I was seeing:

It asked me to log into my MailChimp account first, then I needed to select a MailChimp list that I had already set up. The list needs to be a new one that you set up for use with your new form – it won’t work on an older/existing list.
Finally, click “APPLY” to save your latest changes.
Adjusting the width of your form
My form turned out to be VERY wide and spanned the width of my screen (kinda ugly!) –>
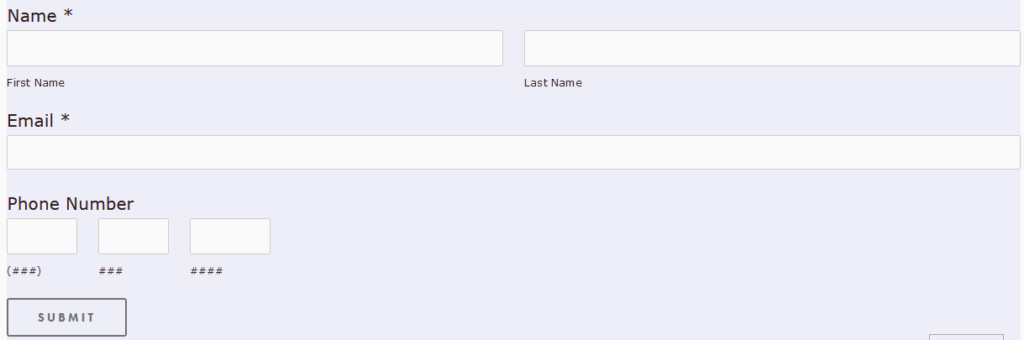
To remedy this, fortunately I remembered that Squarespace has something called “Spacer Blocks” that can be used to create space or margins around the elements of the page.
Click the + symbol in the top-right corner of your editing window and choose the “Spacer” block.
If your Spacer is too wide or too narrow, click, hold and drag the left edge of the spacer block to resize it (in my case I had to shrink it down a bit):
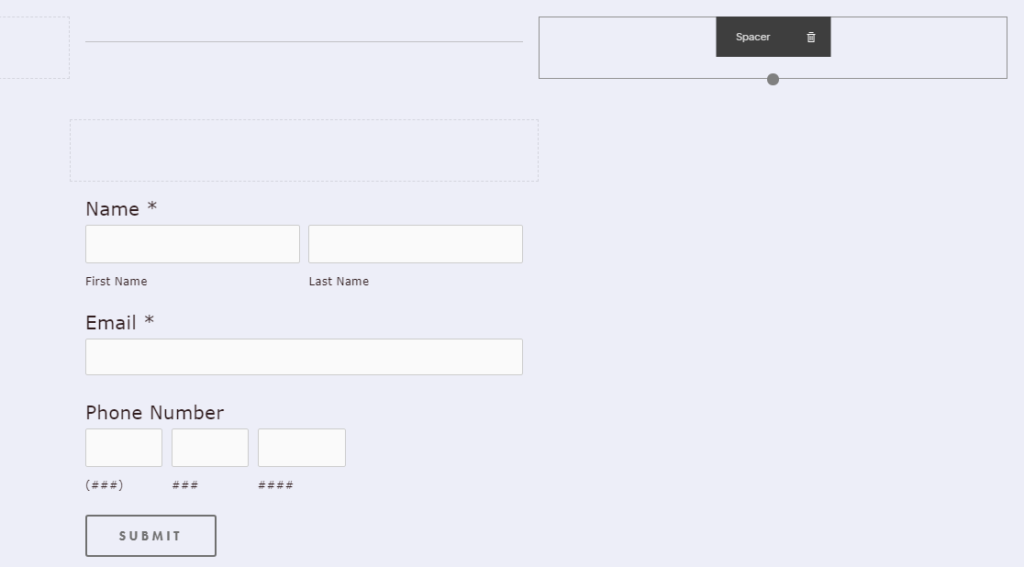
Once you have your form positioned just right on your page make sure to click “Save” and you should be good to go!
Testing the form functionality in your browser
Then of course you should submit your form a few times to test the functionality, and also take a look at it in a bunch of different devices to make sure it is nicely responsive.
Check out the screen that appears right after you submit the form, and add some text there as needed. Mine simply said “Thank you!” by default so I’ll need to tweak that text a bit later. Then the resulting email gets sent somewhere and is stored somewhere – depending upon your chosen preferences.
In my case I didn’t even need to do anything to configure this, but when I tested out my form in a browser it sent a confirmation (or “success”) email to my inbox. That was a pleasant surprise because I hadn’t yet told it to do that. : )
Well that should do it for today! If you’d like to learn more about using Squarespace, take a look at the training videos and webinars that Squarespace offers on its main website. For additional training, Udemy has loads of high-quality, inexpensive training courses available.
Please share this article, and let me know in the comments what you think of Squarespace in general and/or if you have any questions about forms.
And if you’re curious about how to edit ALT text in Squarespace, please check out this article. Cheers!