A great way to spruce up images on a website or app is to add a border around them. Adding borders is a quick and easy way to draw attention to your images and make them stand out. In this article we will discuss how to add a border to an image, how to change the image border color — and we’ll also touch upon how to change the style of that image border.
Adding a border to an image using CSS and HTML
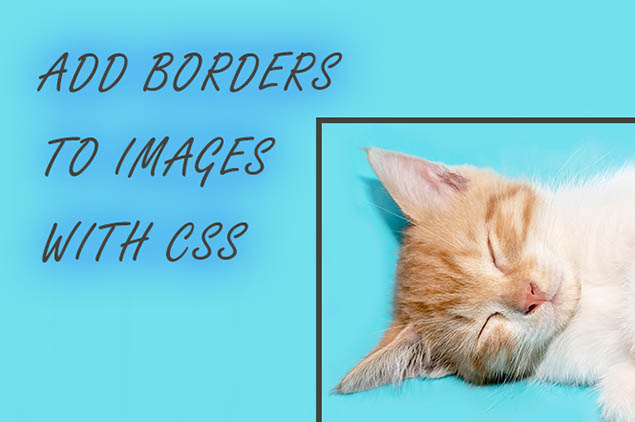
First of all you’ll need to import an image into your webpage or add the html code manually. We’re going to use a photo of my cat Pumpkin as a starting point (shown here with no border):

The basic, no-frills way to code an image and embed it into a page is like this:
<img src=”pumpkin-cat.jpg” alt=”pumpkin, my cute orange cat” width=”200″ height=”307″ />
Next we’ll add a little bit of code to the image element (the “img” tag) so it will have a border around it. This is using CSS, and can be achieved in a few different ways.
Method #1 Using Inline CSS to Add an Image Border
If you have access to edit the html of your page directly, the quickest way is to use inline CSS. This method should be used sparingly, however, for various reasons as mentioned in this article.
First start with an image, then add some CSS directly to it.
• This is how an image (img) html tag with inline CSS added would be coded. In this example we added a solid black border that is 5 pixels thick:
<img src=”pumpkin-cat.jpg” style=”border: 5px solid black;” alt=”pumpkin, my cute orange cat” width=”200″ height=”307″ />
This is how that code would appear in the browser:
Method #2 Using On-page CSS or Linking to an External Stylesheet
These methods are preferred to using inline CSS inside of individual html tags or elements. The most preferred way is to create an external stylesheet (.css) file and add our border styles in there. Then we’ll link to that external CSS file by adding the following line of code up near the top of our html code, inside the “head” section:
<link rel=’stylesheet’ id=’add-id-here’ href=’external CSS file here’ type=’text/css’ media=’all’ />
Once that is done, we’ll take an image tag, then add a CSS class or CSS id indicator to it.
• This is how an image (img) html tag with an ID indicator added would be coded (we added the ID at the end of the img tag, but it could be added elsewhere inside the “img” tag):
<img src=”pumpkin-cat.jpg” alt=”pumpkin, my cute orange cat” width=”200″ height=”307″ id=”myBorder” />
This is how that CSS code and ID would be set up inside of a stylesheet file:
#myBorder {

border: 5px solid black;

}
img {

   border: 5px solid black;

}
In our example above we used the CSS id indicator, which is the “#” symbol, so that ID will be associated with our stylesheet ID of “myBorder” (the ID that lives inside the .css file).
This is how that would appear in the browser (same as it looks in our first example above):
Changing the Image Border Color Using CSS
All you would need to do here is simply change the word “black” in the CSS to a different color. One way is by calling a color by its name, such as blue, pink, beige, etc.
Like this:
#myBorder2 {

border: 10px solid pink;

}
This is how that would appear in the browser:
Or if you prefer, you can use the more specific hexadecimal color values or the RGB values instead of using color names.
Like this:
#myBorder2 {

border: 10px solid #ffb6c1;

}
Or this:
#myBorder2 {

border: 10px solid rgb(245,218,223);

}
Changing the Style of an Image Border
We can add some pizzazz to the image border too. How about a different border style, like a double border?
• This is how changing the border style would be coded:
#myBorder3 {

border: 10px double pink;

}
Here’s how that change would appear in the browser:
In addition to the “double” style, some other specific border styles include dashed, dotted, inset, outset, groove and ridge. Those border effects can be achieved by simply swapping out “border: 10px double pink'” in the above CSS for the following: “border: 10px [insert border style here] pink;”
There is SO much room to be creative when it comes to adding CSS code to your HTML tags! We encourage you to have fun with it and don’t be afraid to experiment. And here’s a few related articles, if you’d like to delve more into styling HTML with CSS:
Easy Ways to Style HTML Tables (and remove the borders)
How to Style the HTML Details and Summary Tags
Please share this article if you liked it, and thank you so much for visiting the Code Dragon blog!