Hello readers!! I am back with another article related to painting. Being an environment-friendly person I always did my part to Reduce, Reuse and Recycle. But I never had the time to upcycle.
But as the silver lining to the current pandemic, being at home is giving me so many opportunities to experiment with my creativity. That’s how I got into upcycling wine and beer bottles. In this article I am going to talk about a couple of ways to decorate your glass bottles to create masterpieces.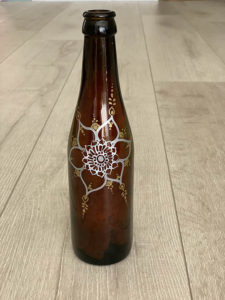
Let’s Get Started Upcycling!
To start with, soak your glass bottles in soap and water for a few hours so all the label and glue can come of easily. Let the bottles air/sun dry. When they are dry they are ready to be transformed.
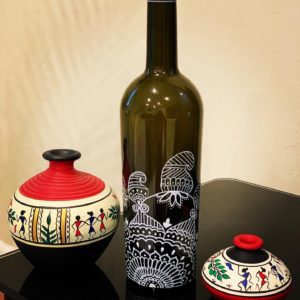
Method #1: no base coat of paint (quicker)
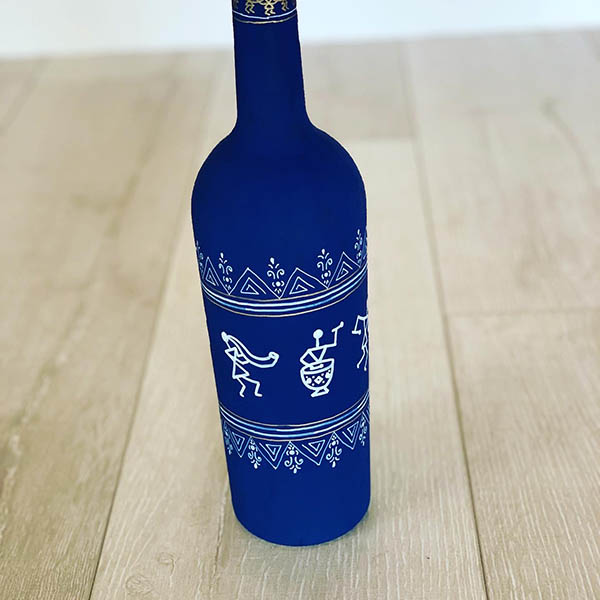
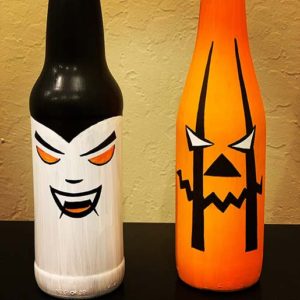
The first method to upcycling wine bottles takes less time and uses minimal supplies as we do not give a base color coat to the bottles. We directly use sharpie pens on the bottle, using an extra fine tip for intricate designs and a fine tip for the rest. This method looks best on dark colored bottles and using white sharpies. Gold and silver sharpies on dark bottles look good too.
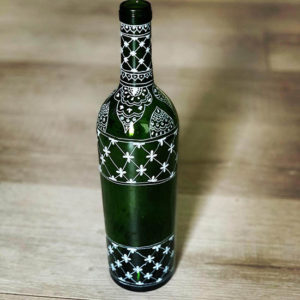
Creating a contrast is the key. You could do henna art, mandala designs, Warli designs (Indian tribal art), African tribal designs, etc. Decide on your design and directly draw it on the bottle. Don’t worry – you could practice on a paper beforehand if needed. Sharpies dry really fast so your bottles are ready for display as soon as you are done drawing.
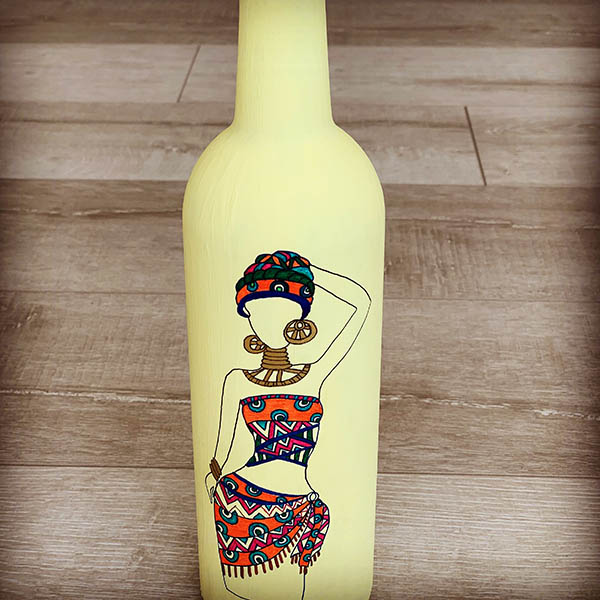
Method #2: use 2-3 base coats of paint (takes longer)
The second method will take a few days as you will need to coat your bottle with a base color at least 2-3 times. I use gloss or satin acrylic colors and a broad flat soft brush for the base color. The previous coat needs to dry very well before proceeding to the next one – otherwise the color will chip off. I usually leave 12-24 hours between each coat. Lighter colors need more coats than darker ones.
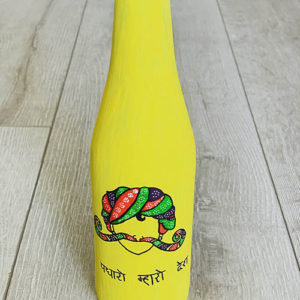
You need to repeat the coating process until the color looks even; 2 coats might be enough for dark base color, whereas a light color might need 3 coats. You could also use spray paints for the base coat. If using spray paint make sure to do it from a distance (6-8 in) and not to stay on one spot for too long. The goal is to produce an even base color.
Choose your design
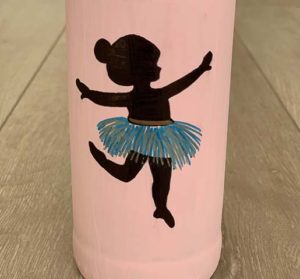
Next comes the fun part – here’s when you choose your design. In this method, the sky is the limit on choosing designs! Basically you could choose absolutely anything; abstract painting, geometric designs, patterns, all the ideas we spoke about in the stone and shell painting article, even the ideas we discussed above and so on. I really like doing paintings of women as they compliment the bottle shape so well. 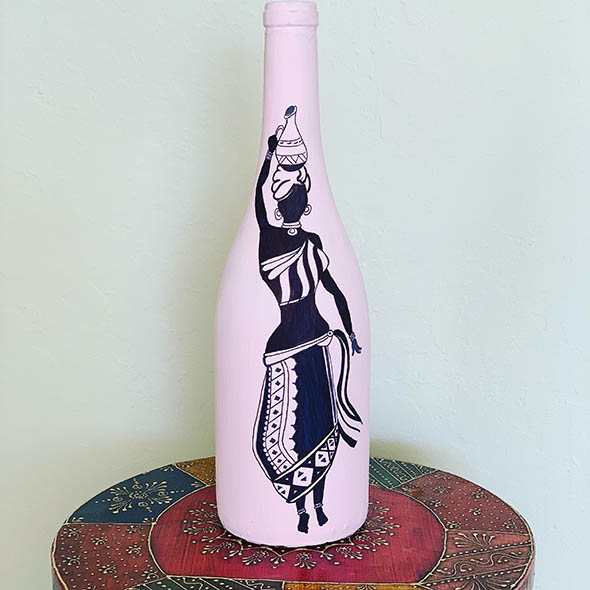
You could either use liquid acrylic colors or acrylic pens/colored sharpies/paint pens to create your designs. Vertical designs are going to be relatively easier to do than around the bottle.
Practice your design on paper before hand and draw the entire design or at least the outline with pencil on the bottle before using your colors.
Seal your bottle to protect your work of art
Lastly you should seal your art work even if it is just going to be displayed inside your home. It will make your colors last long and make the cleaning easier. Wait for 24 hours between finishing your art and sealing it. You could use the sealant method as we discussed in the stone and shell painting article. The only difference is you will probably need more (3-4) coats of sealant.
Another way to seal your bottle art is to bake them in the oven. I think it is a relatively easier way of sealing considering the bottle shape. For sealing by baking you need to put the bottle in the oven on a parchment paper before you turn the oven on. No need to preheat the oven. Leave the oven on 350 degrees F for 30 minutes and turn off after 30 minutes.
Leave the bottle inside until the oven cools off. Drastic temperature changes will make glass brittle and that’s why we let the bottle heat and cool with the oven.
So readers, go ahead and unleash your creativity and have some fun!
Check out our article Upcycling Glass Bottles: Alternatives to Bottle Painting if painting isn’t your thing but you’d like to do something creative with your spare glass bottles.
This article was written by my friend Anushree Neurgaonkar, who also provided the gorgeous artwork and photos. Anu’s creativity and enthusiasm for art is such an inspiration! — Angie


Great Bottle Art workshop by Anushree!
Thanks, Chitra! Yes, Anu is such a talented artist – and a good teacher as well. : )